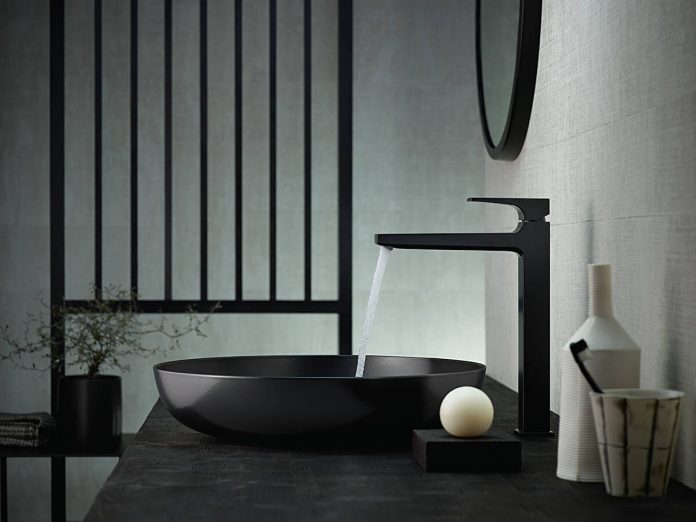
A brand-new bath faucet may breathe new life into a drab bathroom. However, bath shower mixer tap replacement might be challenging. If you are knowledgeable, this may be simple; the right equipment and a little know-how can go a long way. However, if this work appears challenging because of odd pipes or living in an ancient house, we suggest seeking expert guidance.
Steps for Bath Shower Mixer Tap Replacement
1. Stop the flow of water
First, you must turn off the water supply before the bathroom bath shower mixer tap replacement. Two ways to accomplish this:
- Using compression fittings to turn it off
To switch off the water supply, take a flathead screwdriver and rotate the compression fitting 90 degrees counterclockwise. This is often located on the pipes of your old tap. Then test them by emptying the taps of water and verify sure no problems have arisen.
- Using the mains to cut the power
This is often found in the kitchen, behind the sink, or, if your property has one, in the utility room. Clockwise rotation of the valve will shut it off.
After cutting off the water supply, we advise inserting the stopper in the basin to stop any bolts or fasteners from dropping down the drain and creating problems.
2. Unscrew the nut and disconnect the flexible tap connectors
Using an adjustable wrench, you must unplug the flexible tap connections holding the supply to the tap tails. The nut holding the tap to the bath must then be removed. This may be found on the bath floor, underneath the tap. If there is more room, this task may be more accessible. Make sure you use the right tool, such as a box or a cranked spanner.
3. Dispose of the Old Tap
Keep a towel nearby while disconnecting the flexible tap connections since some water could be left behind. If you’ve done everything right up to this point, the old tap should come out of the tap holes with ease once the nut has been taken off. Cleaning the tap holes with a moist cloth will restore them to their pristine condition if there is any dust or filth present.
4. Attach the new faucet
Using the washers included with your new tap, check to see whether your new tap fits comfortably in your tap holes. If it does, you may begin the process of having your new tap installed. Start by turning on the hot tap, which is always on the left when seen from the opposite end of the taps.
Place the replacement tap into your tap holes after unscrewing the nut from the tap’s base. Make sure it is 90 degrees from the bath’s rim. To attach the nut by hand, reach underneath the tap holes. Follow the same procedure with the cold tap.
5. Connect the Flexible Tap Connectors once again
Reconnecting the flexible tap connections is possible once the tap has been snugly secured and tightened with your wrench. The flexible connectors’ ends should be connected to the pipe.
6. Secure the Nut Below the Basin
You’ll need to manually tighten the primary nut against the fitting to secure everything in place. Once firmly in position, spin the nut one complete turn with the second spanner while holding the fitting in place. Following this, it’s crucial to check all the joints and fittings again. If everything feels and appears secure, you may proceed to turn the water back on.
7. Restart the water supply
Once you’re confident everything is connected correctly, reactivate the water supply using a flathead screwdriver to rotate the compression fittings 90 degrees counterclockwise and check for drips or leaks. As required, tighten the connections after checking them for leakage.
Conclusion
The method of bath shower mixer tap replacement will be similar. However, this instruction only focuses on replacing a conventional mono-basin mixer tap.


